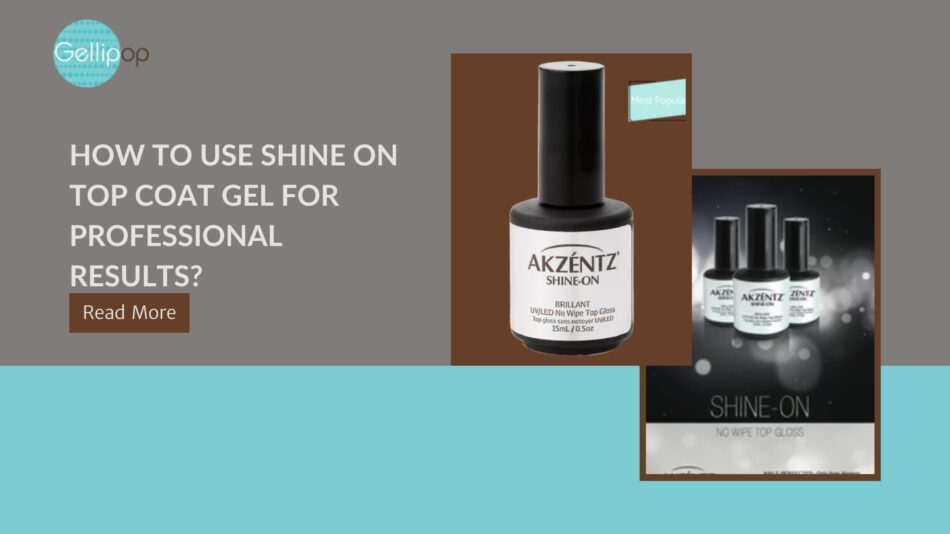
If you’re chasing that salon-fresh finish at home or trying to level up your nail game professionally, learning how to use Shine On Top Coat gel the right way is a total game-changer. This top coat isn’t just about shine, it’s about locking in color, adding durability, and giving your nail sets that high-gloss, glassy look clients (or you) crave. But let’s be real, even the best product won’t work its magic if it’s not applied the right way.
Whether you’re a nail tech or just obsessed with perfecting your DIY manis, this guide breaks down how to use Shine On Top Coat like a pro.
Start With a Solid Foundation
Let’s get one thing straight: your top coat is only as good as what lies underneath. Before even cracking open the bottle, make sure your base and color coats are fully cured and applied cleanly. Wipe away any dust, oil, or sticky residue from the surface. The nail should be smooth and dry. Got lint or uneven bumps? Buff them out. Your surface should feel like glass before you even reach for the top coat.
Less is More
When it comes to Shine On Top Coat gel, don’t go overboard. A little really does go a long way. Thick coats may feel more protective, but they tend to shrink or wrinkle under the lamp. Instead, aim for a thin, even layer. Here’s a trick: float the brush slightly above the nail as you apply. Let the gel glide on instead of pressing it in. This technique keeps the layer ultra-smooth and prevents streaks or bubbles.
Don’t Skip the Edges
This step is key if you want longer-lasting wear. Seal the free edge of each nail by running the brush horizontally across the tip. It sounds minor, but this one move helps prevent premature lifting or chipping. Also, make sure you’re fully capping the sides and edges. That tiny detail? It makes all the difference in how well your mani holds up over time.
Cure It Right
Curing is where the magic happens. But here’s where many people mess up. Make sure your lamp is working at full power, and always cure for the full recommended time. Typically, 30 to 60 seconds under LED should do the trick, but this depends on your lamp strength. Avoid waving your hand around or pulling it in and out during curing. That uneven exposure can leave soft spots or undercured areas that never fully set.
Watch for Heat Spikes
Sometimes, you’ll feel a quick burst of heat as the gel begins to cure, what pros call a “heat spike.” It’s normal, especially with thicker coats. If it happens, gently remove your hand, wait a second, and then pop it back in. To avoid the sting altogether, apply ultra-thin layers. Thick globs aren’t just a curing nightmare, they can feel like fire.
Clean or No Clean? Read the Label
Not all top coats are the same. Some need to be wiped with alcohol after curing, while others are “no-wipe” formulas. Shine On Top Coat gel is typically no-wipe, meaning once it’s cured, it’s done. No sticky residue, no extra steps. But hey, double-check your product instructions. Don’t go scrubbing your nails with alcohol if the gel doesn’t need it, it’ll just dull the finish.
Add Some Nail Art Magic (Optional but Fun!)
Here’s where you can get a little creative. If you want to seal in nail art, foils, glitter, or chrome powder, Shine On Top Coat gel is your best friend. It locks everything down and gives your designs that crystal-clear finish. Just make sure everything underneath is set and dry before applying the top coat. Trying to seal in wet designs? That’s a recipe for smudges and lifting.
Troubleshooting the Shine
Okay, let’s say something didn’t go quite right. Your finish looks dull, there are tiny bubbles, or there’s a weird uneven patch.
- Dull finish? You might’ve overcured or applied too thick. Try a thinner coat next time.
- Bubbles? You probably shook the bottle. Always roll the bottle gently between your hands instead.
- Lifting? Check if you capped the edges and fully cured each nail.
Nail perfection isn’t magic, it’s a habit. And a few small tweaks can take your finish from okay to flawless.
Maintenance Tips to Keep That Gloss Locked In
Once you’ve nailed the application, keeping that high-gloss shine going is simple.
- Avoid harsh chemicals. Wear gloves when cleaning.
- Moisturize. Dry cuticles and brittle nails can lead to lifting.
- Don’t pick. If your top coat starts to lift, resist the urge to peel. Gently file and reapply a layer instead.
Want to extend the life of your mani even more? Add another layer of Shine On Top Coat around day five. Just make sure you clean the surface first and cure it again.
So whether you’re sealing in a natural shade or going bold with nail art, this top coat is your ride-or-die. Want to elevate the whole look even more? Try pairing it with Shine On One Coat No Wipe color for rich pigment and unbeatable shine, all in just one swipe.
Ready to glow up your next manicure? Now you’ve got all the tools to make it shine like glass.
 WhatsApp Us Now


