

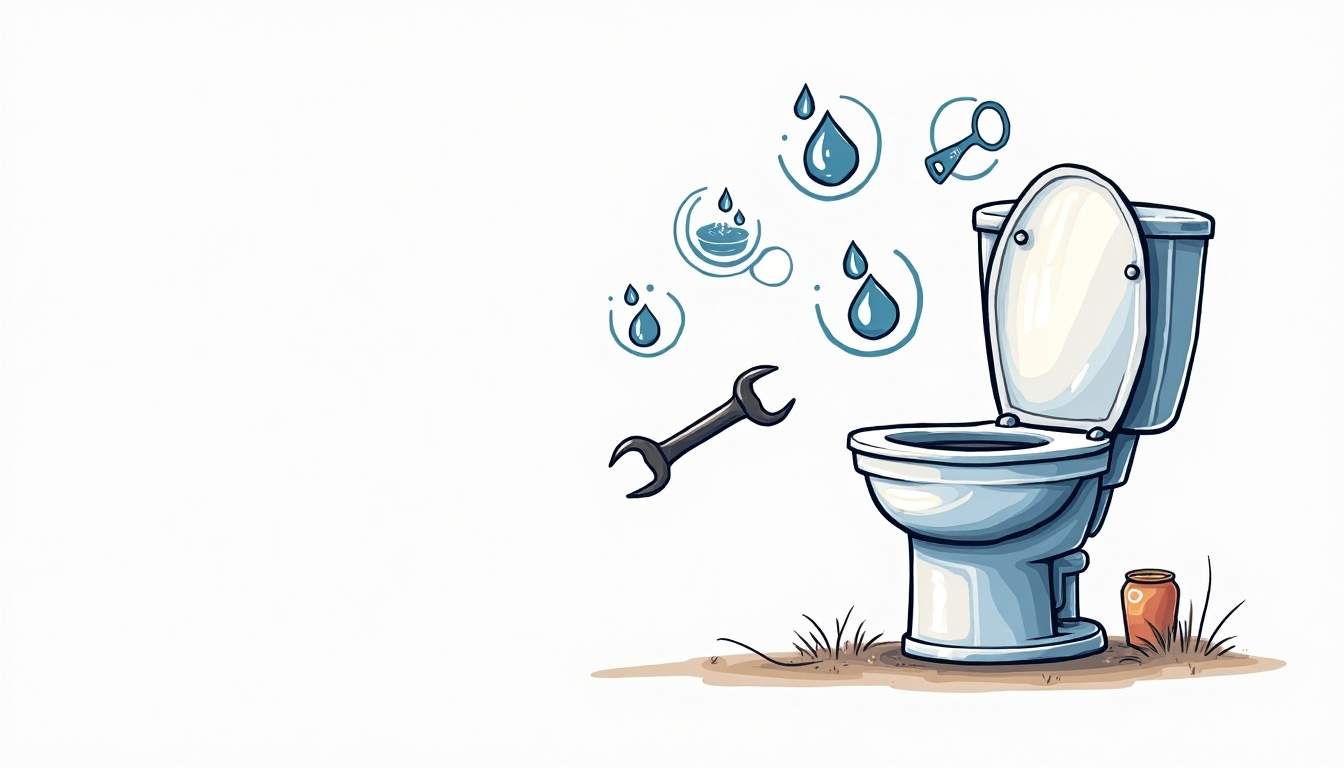
Discovering a leak in your toilet bowl can be both frustrating and concerning. Not only can it lead to water damage and increased utility bills, but it also signals that something in your toilet’s mechanism isn’t functioning properly. Fortunately, many toilet leaks can be addressed quickly with straightforward fixes. This article will guide you through the common causes of toilet bowl leaks and provide practical solutions to help you stop the drip and restore your bathroom’s peace of mind.
Understanding the Common Causes of Toilet Bowl Leaks
Before diving into repairs, it’s important to understand why your toilet bowl might be leaking. Leaks can originate from different parts of the toilet, and identifying the source is key to applying the right fix.
Leaking at the Base of the Toilet
If you notice water pooling around the base of your toilet, the leak is likely coming from the wax ring seal that sits between the toilet and the floor flange. This wax ring creates a watertight seal preventing water and sewer gases from escaping. Over time, the wax ring can degrade, become misaligned, or get damaged during installation, leading to leaks.
Another potential cause of leaks at the base is loose toilet bolts or a cracked toilet base. If the bolts securing the toilet to the floor have loosened, the toilet may rock slightly, breaking the seal and allowing water to seep out. Additionally, if the toilet base is cracked due to age or improper handling during installation, it can lead to significant leaks that may require a complete replacement of the toilet. Regularly checking the stability of your toilet and ensuring that it is properly secured can help prevent these issues from arising. For professional help, you can visit Plumber Singapore to get expert assistance.
Leaks from the Tank to Bowl Connection
Water leaking between the toilet tank and bowl usually indicates a problem with the tank-to-bowl gasket or the bolts that hold the tank in place. This gasket seals the connection between the tank and bowl, and if it’s worn out or improperly installed, water can drip down the side of the toilet. In some cases, mineral buildup from hard water can also contribute to the deterioration of this gasket, leading to leaks over time.
It’s also worth noting that the bolts securing the tank can corrode, especially if they are made from metal. This corrosion can weaken the connection and create gaps that allow water to escape. If you suspect this is the case, it’s advisable to replace the bolts with stainless steel ones, which are more resistant to rust and corrosion, ensuring a longer-lasting seal.
Running Water or Leaks Inside the Bowl
Sometimes, the leak isn’t visible around the toilet but manifests as a constantly running toilet or water slowly leaking into the bowl. This often points to issues with the flapper valve inside the tank or a faulty fill valve. A worn or misaligned flapper can allow water to trickle into the bowl continuously, wasting water and causing the toilet to run. Regular maintenance of these components is crucial, as even a small malfunction can lead to increased water bills and unnecessary strain on your plumbing system.
Additionally, the fill valve may also be malfunctioning, causing it to either overfill or not fill properly, which can lead to further complications. In some instances, sediment buildup can affect the performance of the fill valve, leading to erratic water levels in the tank. Addressing these issues promptly not only helps conserve water but also ensures that your toilet operates efficiently, preventing more severe plumbing issues down the line.
Quick Diagnostic Steps to Pinpoint the Leak
Before attempting any repairs, it’s helpful to perform a few simple checks to locate the leak’s source accurately.
Visual Inspection Around the Toilet Base
Start by drying the area around the base of the toilet thoroughly. After flushing the toilet a few times, observe if water reappears. If pooling occurs, the leak is likely at the base. Also, check for any cracks in the porcelain or loose bolts.
Check the Tank and Bowl Connection
Look for water dripping or moisture around the bolts connecting the tank to the bowl. If you see water stains or wetness, the gasket or bolts may need attention.
Use Food Coloring to Detect Internal Leaks
To check if water is leaking from the tank into the bowl, add a few drops of food coloring into the tank water. Wait 15-30 minutes without flushing. If the colored water appears in the bowl, the flapper valve is likely leaking and needs repair or replacement.
Fast Fixes for Toilet Bowl Leaks
Once the source of the leak has been identified, you can proceed with the appropriate fix. Many of these repairs require minimal tools and can be done without professional help.
Replacing the Wax Ring at the Toilet Base
If the leak is at the base, replacing the wax ring is often the best solution. Here’s a step-by-step guide:
- Turn off the water supply to the toilet and flush to drain the tank and bowl.
- Disconnect the water supply line from the tank.
- Remove the caps covering the toilet bolts and unscrew them.
- Carefully lift the toilet straight up and place it on a protective surface.
- Remove the old wax ring from the flange and clean the area thoroughly.
- Inspect the flange for damage and replace if necessary.
- Place a new wax ring on the flange, ensuring it’s centered.
- Lower the toilet back onto the flange, pressing down evenly to compress the wax ring.
- Reinstall and tighten the bolts, reconnect the water supply, and turn the water back on.
- Flush the toilet and check for leaks around the base.
Wax rings are inexpensive and widely available at hardware stores. For an easier installation, consider a wax-free ring made of rubber or foam, which can be less messy and reusable.
Tightening or Replacing Tank-to-Bowl Bolts and Gasket
If water is leaking between the tank and bowl, follow these steps:
- Turn off the water supply and flush the toilet to empty the tank.
- Use a sponge or towel to remove any remaining water from the tank.
- Loosen and remove the bolts connecting the tank to the bowl.
- Carefully lift the tank off the bowl and place it on a secure surface.
- Remove the old gasket from the bottom of the tank and clean the surfaces.
- Install a new tank-to-bowl gasket, ensuring it fits snugly.
- Replace the bolts with new ones if they are corroded or damaged.
- Reattach the tank to the bowl, tightening the bolts evenly to avoid cracking the porcelain.
- Reconnect the water supply, turn it on, and check for leaks.
Be cautious not to overtighten the bolts, as this can cause cracks in the tank or bowl.
Fixing a Leaky Flapper Valve
A leaking flapper valve is a common cause of water running into the bowl. Here’s how to address it:
- Turn off the water supply and flush the toilet to empty the tank.
- Remove the tank lid and locate the flapper at the bottom of the tank.
- Disconnect the chain from the flush handle lever.
- Remove the flapper by unhooking it from the pegs on the overflow tube.
- Inspect the flapper for warping, cracks, or mineral buildup.
- Replace with a new flapper that matches your toilet model.
- Reattach the chain, ensuring it has a little slack but isn’t too loose.
- Turn the water supply back on and test the flush.
Replacing the flapper is a quick and inexpensive fix that can save gallons of water daily.
Adjusting or Replacing the Fill Valve
If the toilet continues to run or overflows, the fill valve might be the culprit. Adjusting or replacing it can solve the problem:
- Turn off the water supply and flush the toilet.
- Remove the tank lid and locate the fill valve, usually on the left side.
- Adjust the float according to the manufacturer’s instructions to change the water level.
- If adjusting doesn’t help, shut off the water, disconnect the supply line, and remove the fill valve.
- Install a new fill valve, following the package instructions carefully.
- Reconnect the water supply and test the toilet.
Modern fill valves are designed to be easy to install and often come with adjustable features for precise water level control.
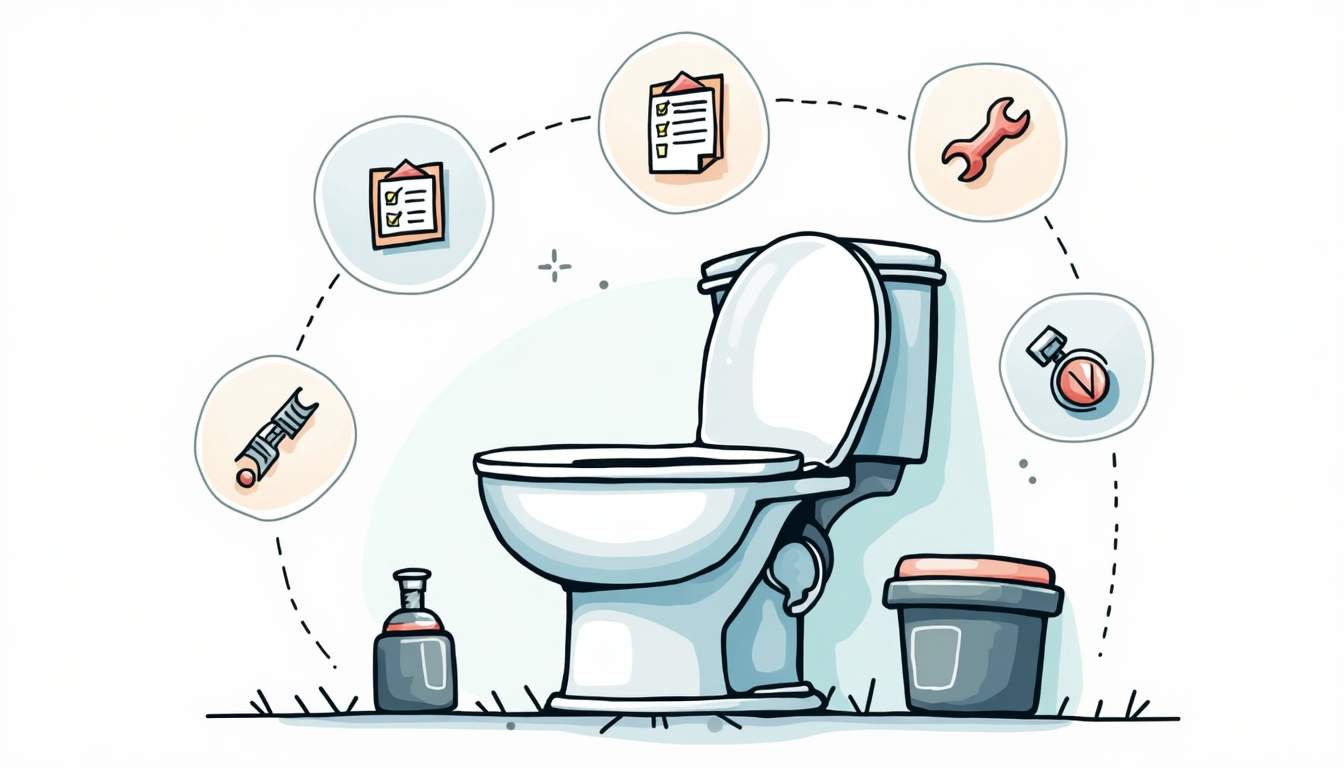
Preventive Tips to Avoid Future Toilet Leaks
While quick fixes can resolve current leaks, taking preventive measures can help avoid future problems and extend the life of your toilet.
Regular Maintenance Checks
Inspect your toilet every few months for signs of wear, loose bolts, or leaks. Early detection can prevent costly repairs later.
Use Gentle Cleaning Products
Avoid harsh chemical cleaners that can degrade rubber parts like flappers and gaskets. Opt for gentle, toilet-safe cleaners to maintain your toilet’s components.
Avoid Excessive Force
Be careful when tightening bolts or handling the toilet tank to prevent cracks or damage. Use hand tools with care and avoid overtightening.
Replace Parts as Needed
Rubber components like flappers and gaskets naturally wear out over time. Replacing them every few years can keep your toilet functioning smoothly.
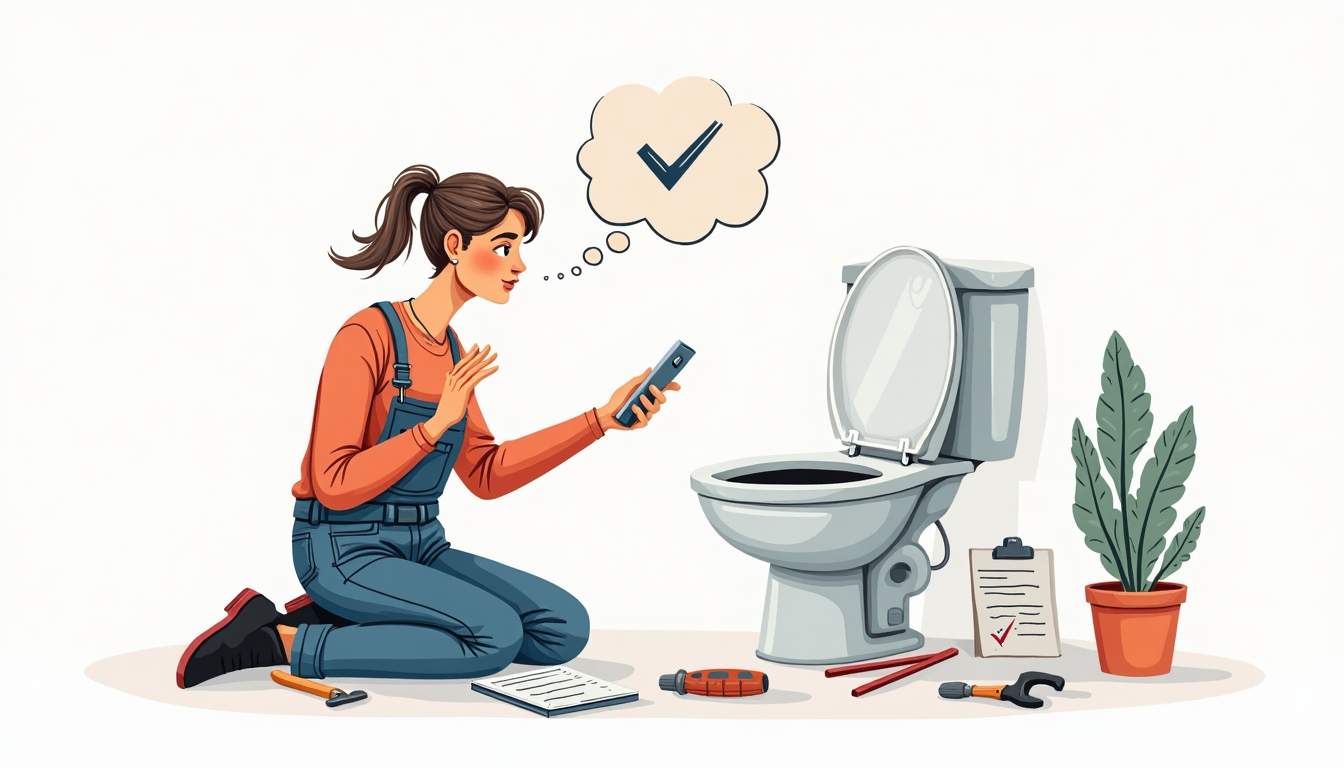
When to Call a Professional Plumber
While many toilet leaks can be fixed with DIY methods, some situations require professional expertise:
- If the toilet base leak persists after replacing the wax ring, it may indicate a damaged flange or subfloor issues.
- Cracks in the toilet bowl or tank require replacement rather than repair.
- Complex plumbing problems or multiple leaks might need thorough inspection and repair by a licensed plumber.
Don’t hesitate to seek professional help if you’re unsure about the repair or if the leak continues despite your efforts.
Conclusion
Toilet bowl leaks are a common household issue that can often be resolved quickly with the right knowledge and tools. By understanding the typical causes whether it’s a faulty wax ring, a worn flapper, or loose bolts—you can confidently tackle repairs that save water, prevent damage, and restore your toilet’s functionality. Regular maintenance and timely fixes go a long way in keeping your bathroom leak-free and efficient.
With these fast fixes and preventive tips, a leaking toilet no longer needs to be a source of stress. Instead, it becomes a manageable task that helps maintain a comfortable and well-functioning home.


