 WhatsApp Us Now

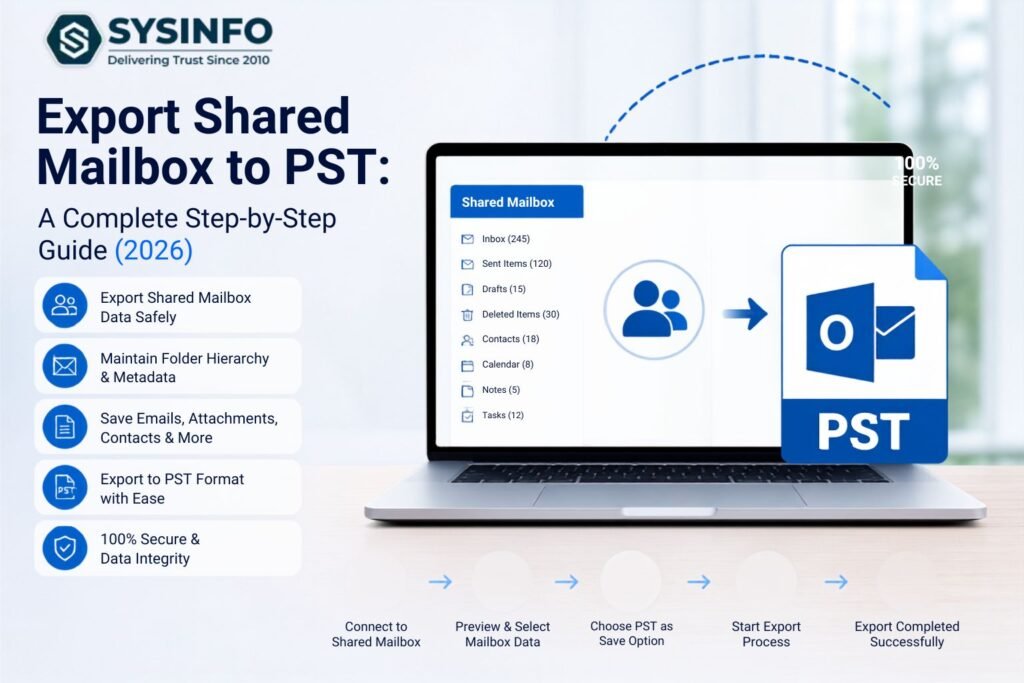
Shared mailboxes are a common feature in Office 365 environments, used by teams to manage support tickets, sales inquiries, or department-wide communication. Over time, these mailboxes accumulate large volumes of emails, attachments, and folder structures. At some point, organizations need to export this data to a PST file — whether for backup, compliance, offline access, or migration to another account.
Unfortunately, Outlook doesn’t offer a built-in, one-click way to export a shared mailbox to PST. Many users run into issues like flattened folder structures, missing data, or simply not being able to find the Import/Export wizard in the New Outlook interface.
This guide walks through both the manual and automated methods available to export a shared mailbox to PST, along with their pros, cons, and when to use each.
SysInfo Microsoft 365 Tenant to Tenant Migration Tool
Why Export a Shared Mailbox to PST?
Before diving into the methods, it helps to understand why this task matters:
- Data protection — PST files act as an offline backup, protecting against accidental deletion or data loss.
- Mailbox size management — Exporting older emails frees up storage space in the live mailbox.
- Offline access — PST files can be opened without an internet connection.
- Historical record-keeping — Old conversations stay preserved without cluttering the active mailbox.
- Portability — PST files make it easy to move mailbox data between users, devices, or organizations.
Manual Methods to Export a Shared Mailbox to PST
There are three commonly used manual approaches: the Outlook desktop client, Microsoft’s eDiscovery export tool, and PowerShell/Exchange Management Shell commands. All three are free, but each demands a certain level of technical comfort.
Method 1: Using Outlook Desktop
Best suited for a quick, one-time export when you already have full access to the shared mailbox.
- Open Outlook desktop and confirm the shared mailbox appears in your folder list.
- Go to File > Open & Export > Import/Export.
- Choose Export to a file, then click Next.
- Select Outlook Data File (.pst) and click Next.
- Pick the shared mailbox and the specific folders you want to export.
- Choose a save location for the PST file.
- Click Finish to begin the export.
Limitation: This method only works in the classic Outlook desktop app, doesn’t support scheduling, and can struggle with very large mailboxes.
Method 2: Using Microsoft eDiscovery
A better fit for IT administrators handling exports for compliance, audits, or legal holds.
- Sign in to the Microsoft 365 Admin Center.
- Navigate to Admin centers > Security > Permissions.
- Open eDiscovery Manager > Edit Role Group and add your account to the eDiscovery Administrator role.
- Go to the Compliance Center > Content Search.
- Create a New Search and set the conditions to target the shared mailbox.
- Once the search finishes indexing, click Start Export.
- When the export is ready, click Download exported results.
- Use the Microsoft Export Tool to retrieve the PST file locally.
Limitation: Requires admin-level permissions, and the export tool only functions properly in Internet Explorer or Edge’s IE mode.
Method 3: Export Shared Mailbox to PST via PowerShell
This method is best for organizations with an on-premises Exchange server and technical IT teams. Follow the steps to implement:
-
- Firstly, run the following PowerShell command to assign export rights:
| New-ManagementRoleAssignment –Role “Mailbox Import Export” –User Administrator |
-
- After that, restart the Exchange Management Shell.
- Meanwhile, run the export command:
| New-MailboxExportRequest -Mailbox SharedMailbox -FilePath “\\Server\SharedFolder\SharedMailbox.pst” |
-
- Lastly, check the export progress using:
| Get-MailboxExportRequest |
Note: It requires PowerShell knowledge and only works in Exchange on-premises environments.
Where Manual Methods Fall Short
While these methods work, they come with real drawbacks:
- eDiscovery and PowerShell both require a fair amount of technical know-how.
- The eDiscovery export tool is browser-restricted (IE/Edge IE mode only).
- Interrupted exports or misconfigured settings can lead to partial or corrupted data.
- Large mailboxes can take a long time to process manually.
- None of the manual options support automated or scheduled exports.
A Faster Alternative: Automated Migration Tools
For anyone who wants to skip the technical setup and reduce the risk of data loss, a dedicated third-party migration tool is generally the more reliable option. These tools are built specifically to handle shared mailbox exports — including preserving folder hierarchy, attachments, and metadata — without requiring PowerShell scripting or admin console navigation.
A typical workflow with this kind of tool looks like:
- Install and launch the migration tool, then select the mailbox copy/export option.
- Sign in with your Office 365 account credentials.
- Select the shared mailbox from the account list and choose the PST export option.
- Set a destination folder for the exported PST file.
- Apply any folder or date filters needed, then confirm.
- Start the export and let the tool complete the conversion.
Tools in this category typically also offer:
- Automatic PST splitting once a file approaches the 50 GB Outlook size limit.
- Incremental sync for repeat exports, so only new or changed data gets transferred.
- Folder-level filtering, letting you export just the Inbox, Sent Items, or Calendar instead of the whole mailbox.
- Support for licensed and unlicensed shared mailboxes (unlicensed mailboxes usually need a temporary license before export).
Manual vs. Automated: Which Should You Choose?
| Factor | Manual Methods | Automated Tool |
|---|---|---|
| Technical skill needed | Moderate to high | Low |
| Handles large mailboxes | Often struggles | Built for it |
| Preserves folder structure | Risk of flattening | Generally preserved |
| Scheduling/automation | Not available | Often supported |
| Best for | One-off, small exports | Bulk, recurring, or large exports |
Final Thoughts
Exporting a shared mailbox to PST is essential for backup, compliance, and data portability. Manual methods — Outlook, eDiscovery, and PowerShell — work fine for smaller, one-time jobs but come with real limitations around folder structure, file size, and technical complexity. For larger mailboxes or recurring exports, an automated migration tool is usually the more dependable and time-efficient choice.
Frequently Asked Questions
Can I export a shared mailbox to PST without Outlook installed? Yes. Third-party migration tools can connect directly to Office 365 and export mailbox data to PST without requiring Outlook on the machine.
Can I export only specific folders instead of the entire mailbox? Most migration tools let you preview the folder tree and select only the folders you need — such as Inbox or Sent Items — before starting the export.
What happens if my exported PST goes over the 50 GB limit? Look for a tool with a PST-splitting feature, which automatically breaks large exports into smaller files once they approach the size limit.
Can unlicensed shared mailboxes be exported to PST? Generally, a shared mailbox needs a temporary license applied before its data can be exported, since export operations typically require an active license.
Will repeated exports duplicate data I’ve already backed up? Tools with incremental sync only transfer new or changed items on subsequent exports, avoiding duplication while keeping attachments and metadata intact.


