 WhatsApp Us Now
Scratches on your iPhone screen can be incredibly frustrating, especially when they interfere with visibility or the overall aesthetic of your device. Whether it’s a shallow scuff or something more noticeable, screen scratches are a common issue that nearly every iPhone user has encountered at some point. Fortunately, there are both home remedies and professional solutions that can help restore your screen’s clarity. Understanding what works, what doesn’t, and what risks come with various methods is essential before you attempt to fix the issue. This guide will take you through the most effective techniques for removing scratches from your iPhone screen, offering safety tips, product recommendations, and insight into when it might be time to seek expert help. If you’re hoping to make your iPhone screen look brand new again, keep reading to learn everything you need to know to tackle those stubborn scratches.
Understanding iPhone Screen Materials and Scratch Resistance
Apple designs its iPhone screens with durable materials like Gorilla Glass or Ceramic Shield, which are engineered for high resistance to scratches and drops. However, “scratch-resistant” doesn’t mean scratch-proof. Small particles like sand, metal, or even coins in your pocket can still create noticeable blemishes. Recognizing the type of screen material your iPhone uses is important because different screens respond differently to cleaning agents and polishes. Newer iPhones are more resilient but still vulnerable, especially after prolonged usage or when exposed to abrasive environments. A minor scratch might not affect performance, but deeper marks can reduce screen sensitivity or cause visual distractions. Knowing your screen’s build allows you to choose safe and compatible methods when attempting to restore it.
Assessing the Severity of the Scratch
Before applying any solution, it’s crucial to inspect the scratch under bright light and from multiple angles. Light surface scratches may appear only under certain lighting, while deeper gouges will feel rough to the touch and could catch your fingernail. Surface marks can often be treated with basic household items, while more serious damage might require professional intervention or even screen replacement. Avoid rushing into any repair method without understanding the severity of the problem. Over-treating a light scratch with abrasive compounds can worsen the damage. Conversely, underestimating a deep scratch may lead to long-term screen issues or additional wear. A proper assessment gives you clarity on the tools and steps you’ll need moving forward.
Home Remedies for Light Scratches
If you’ve identified your screen scratch as shallow and purely cosmetic, a few household remedies may help minimize or even eliminate its appearance. Toothpaste, for example, is a widely used solution. Opt for a non-gel, non-abrasive toothpaste and apply it to a soft microfiber cloth. Gently rub the scratched area in small circular motions for 30 to 60 seconds, then wipe clean with a damp cloth. Baking soda mixed with water into a paste is another effective method. Use it sparingly and apply gently to avoid causing micro-abrasions. Baby powder and vegetable oil have also been rumored to fill in scratches temporarily, but these should be used with extreme caution, as they can leave residue on or inside your phone. Always power off your device before attempting any home-based scratch removal and avoid applying excessive pressure that could crack the screen.
The Role of Screen Polishing Kits
Commercial polishing kits designed specifically for smartphones are another reliable solution for addressing light to moderate scratches. These kits typically include a polishing compound and a buffing cloth. They are formulated to be less abrasive than traditional home remedies while still providing noticeable improvements in surface clarity. Popular brands like Polywatch or Displex are often recommended for their effectiveness and ease of use. Applying a screen polish should be done in a controlled environment with minimal dust or particles in the air to prevent additional scratching during the process. Make sure to read all instructions carefully and avoid overuse, as repeated polishing can thin the protective coating on your screen, making it more susceptible to future damage. Although more expensive than household options, these kits offer a safer and more reliable method for reviving scratched screens.
When Professional Repair Becomes Necessary
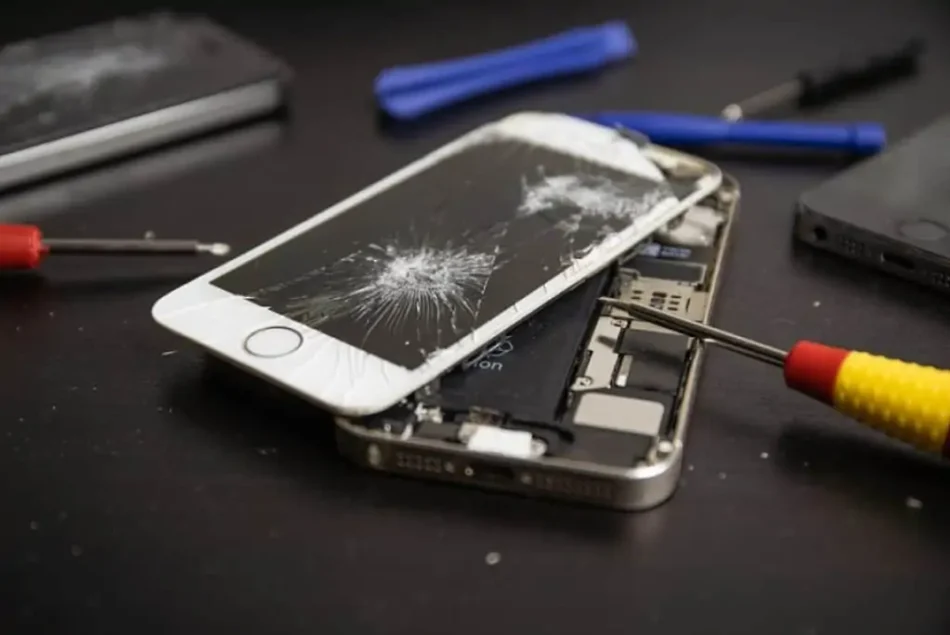
While at-home methods can treat minor cosmetic damage, deeper scratches often require professional care. If the scratch interferes with your display’s brightness, distorts images, or impacts touch sensitivity, you’re dealing with something that can’t be resolved using surface solutions. At this point, taking your phone to an electronics repair store becomes the logical next step. Technicians have access to specialized equipment, screen refurbishing tools, and OEM-grade replacements that aren’t available to consumers. A technician will also ensure your screen remains watertight and fully functional after the repair. In many cases, deep scratch removal will require full screen replacement, especially if the damage affects internal layers or display elements. Trying to fix deep scratches on your own may worsen the situation or void any remaining warranty. Professional repair is also your safest bet when dealing with multiple or spidering scratches that cover a large portion of the screen.
How to Prevent Future Scratches
Once your screen has been restored or replaced, it’s essential to take preventive steps to avoid repeat damage. Investing in a high-quality tempered glass screen protector is one of the best ways to preserve your iPhone screen. These protectors are designed to absorb impact and resist surface damage, acting as a sacrificial layer. Using a protective case with raised edges can also prevent screen contact when placing your phone face-down. Be mindful of where you keep your phone—avoid tossing it into bags or pockets with keys, coins, or other abrasive items. Regularly cleaning your screen with a microfiber cloth will reduce the chance of dirt particles causing micro-scratches during use. Prevention is far more cost-effective than repeated repairs, so it pays to create smart habits that preserve your device’s condition.
Myths and Misconceptions About Scratch Removal
There are plenty of myths floating around about how to remove iPhone screen scratches, and following the wrong advice can cause more harm than good. One of the most common myths is using magic erasers. While they might remove some surface scuffs, they are highly abrasive and can strip away screen coatings. Another risky suggestion is using metal polishes like Brasso or car scratch removers—these are not designed for delicate electronics and may leave permanent haze or even discolor your display. Some people suggest using sandpaper or nail buffers, which is an almost guaranteed way to ruin your screen. It’s essential to research and use proven, device-safe methods. Believing and acting on misinformation not only risks the integrity of your device but could also void any manufacturer warranties. Stick with tested techniques and always err on the side of caution.
Cost Considerations for Scratch Repair
Repairing screen scratches can range from a few dollars to over a hundred, depending on the severity and your chosen method. Home remedies are nearly free but come with risks if used improperly. Screen polishing kits typically cost between $10 and $25 and can be a worthwhile investment if your phone is older or out of warranty. However, deep scratch repair through a professional shop can cost anywhere from $80 to $250, especially if the fix involves full screen replacement. If your phone is still under AppleCare+ or insurance, the cost may be significantly reduced. It’s worth comparing your out-of-pocket repair expense to the value of your phone. In some cases, users of older models might find it more cost-effective to upgrade rather than repair. If you’re looking for affordable and expert help, getting a quote from a local iPhone Repair in Sarasota, FL shop can give you clarity on the best path forward.
Post-Repair Care and Screen Maintenance
Once your screen is restored, keeping it in good condition is essential for long-term usability. Start by applying a fresh screen protector to guard against new scratches. Handle your iPhone with clean, dry hands to reduce oil and dirt buildup. Clean your screen at least once a week using a microfiber cloth and a small amount of screen-safe cleaner. Avoid using paper towels, tissues, or glass cleaner, which can damage screen coatings. Be cautious during outdoor activities, especially in sandy or dusty environments, as fine particles can cause micro-abrasions that are hard to notice at first but worsen over time. If you use wireless chargers or docking stations, ensure they’re clean and free of debris that could rub against the phone’s surface. Practicing good screen hygiene after a repair significantly reduces the risk of another scratch problem.
Final Thoughts on Scratch Removal for iPhones
Scratches may seem like a minor inconvenience, but they can detract from the functionality and resale value of your iPhone. Fortunately, not every scratch spells disaster. From at-home fixes to commercial kits and professional solutions, there’s a wide range of approaches depending on the depth and location of the damage. What’s important is that you avoid harsh or unverified methods and always evaluate the condition of the scratch before starting a repair. When in doubt, seeking professional help can save you time, money, and the frustration of a DIY gone wrong. Regular screen care, smart storage practices, and using quality protectors can help ensure your iPhone stays smooth and scratch-free. Whether you’re cleaning up light scuffs or replacing a heavily scratched screen, you now have the tools and knowledge to make the right decision.
click here to visit website for more interesting collection of articles


